by Carly Black | Jun 27, 2017 | Classroom Solutions, Teacher Solutions
Teaching is a calling. This is something I firmly believe to be true. Choosing a grade level is also part of that calling. Let me share my journey of teaching and how it came to be that I landed in a middle school classroom.
When your grandmother is an English teacher and your aunt owns a used bookstore it’s common to receive a book as a gift. It’s also common that children exposed to books at such an early age will become life-long readers. My love of books was inevitable. Writing became a passion after my very first narrative assignment. My red crayon told a story about spending the day with a kindergartener. From there I kept diaries and journals in my free time. Experimenting with narratives and even a little poetry. It wasn’t until high school that I finally heard some constructive feedback. I still remember the moment I looked at that large red C float atop my title. I was devastated, but Mrs. Harpster taught me more than any other teacher.


Some of the links found in this post are affiliates. This means if you make a purchase after clicking through we will receive a small compensation at no extra cost to you. Thank you in advance for your support and please know that we only endorse products we use and love.
I learned that her daughter was a journalist and this soon became my passion. Journalism and spending ALL my time in her classroom. In my senior year, Mrs. Harpster agreed to have me as a teacher’s aide. She also asked me to teach a few lessons to her lower level freshman class while they were reading Romeo and Juliet. I scheduled to be part of her very small senior Shakespeare class that year as well. Watching those freshmen, who mostly hated books, read with enthusiasm brought me so much joy. Teaching became my new passion and collegiate ambition.
I learned quickly that following in my elementary teaching mother’s footsteps was not for me. High school was much more appealing until I completed my student teaching. Landing in middle school happened thanks to a small group of 7th-grade girls. One of my last college experiences required that I work with a small reading group. It was the most exhilarating experience! Similar to the one I had in high school, but this time it was all me.
At first, they were all very shy about participating; by the end, they all had grown in ability. All 5 of the girls were willing to read and share out loud. That’s when I decided I wanted middle school and not high school. I’m so glad I made this decision. As it turns out the majority of my career has been spent in 7th grade.
Seventh graders are the middle child of our middle school. I always say that in 7th grade they aren’t the kids they used to be, wanting to still play with Barbie and G.I. Joes, but they also aren’t the young adults they will become eventually. It’s always an awkward year. So when my principal asked if I might be willing to change grade levels I was a little hesitant. However, it’s been several years at one grade level so I’m ready to make a change.
Advantages of moving up with students
The first thing that occurred to me was that I will have some of my same students again next year. This could really work to my advantage. Many of the kids will already know my classroom systems: turning in papers, checking in/out classroom library books, absent work, and general classroom procedures. I can use this knowledge to empower them as leaders in the room, regardless of their academic abilities. I can see this being a great confidence booster for many of my former students.
I started by allowing former students to brainstorm all the things students who are new to the classroom might need to know. I wanted to give them this opportunity in case they thought of something I had not. Their list mostly matched mine, but it helped to have students as teachers right from the start. It set a tone of community where students help each other. They covered topics like checking books in and out of our classroom library, where community supplies are located, where to turn in assignments, and how to participate in the 40 book challenge. They also took less time than I usually would because they were to the point. I now realize how much extra information I provide that’s not necessary.
The other great advantage of looping with students is starting with an established relationship. I know these kids, but I also know some of them will do some maturing over the summer. I want to be sure I’m giving them a chance to show me who they are in the current school year, and not treat them as they were the previous year. This is a great opportunity to start the year with a few growth mindset activities. I am able to share my own process of growth over the summer and make growth mindset a foundational conversation. We read Rosie Revere, Engineer to focus our discussion on mistake making and what opportunities they will have in class to fix mistakes.
Physically moving a classroom
The only real disadvantage has been moving my classroom again. Our current building is now only two years old, so I made a big move recently. Even though I purged a ton of things in that move, I still found plenty of things to purge in this year’s move also. It’s amazing what we accumulate as teachers.
I have big shoes to fill, as I’m replacing a retired teacher, but I’m feeling up for the challenge. I’m looking forward to new teammates and the new dynamic of teaching kids one step away from high school. Have you ever made a grade change? What did you find to be the most helpful tool in making a successful transition?

by Carly Black | Jun 12, 2017 | Mom Solutions
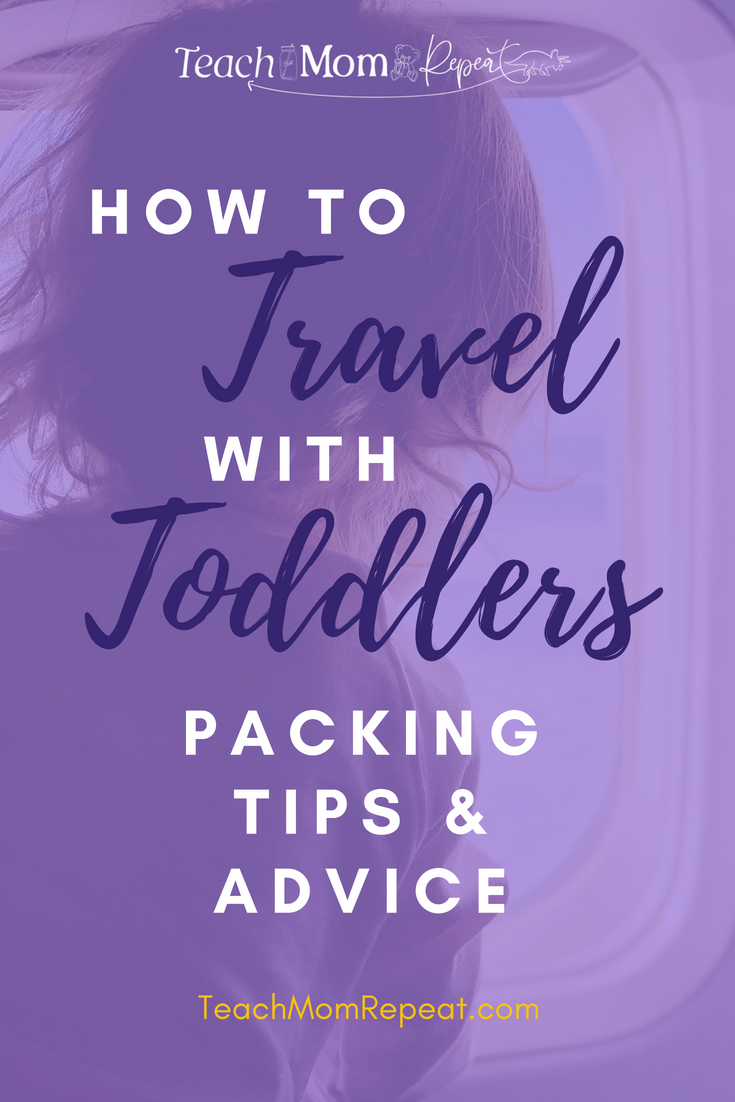
From September of 2012 to July 2013 I was traveling the world on a mission trip that took me to 11 countries in 11 months. With all of that traveling experience under my belt, I still was not prepared to travel with my children in tow. Schlepping a 55-pound hiking pack and a ten-pound backpack is nothing compared to the gear you have to haul around to accommodate your children. I’m not talking about unnecessary items either. You’ve got a stroller, car seats, diaper bag, and on one of our trips I needed a breast pump. All that after you have checked any baggage. I can remember the first time we traveled one hour to my parents’ house, the minivan was packed to the gills. We have since learned our lesson or kept duplicates at their house.

Some of the links found in this post are affiliates. This means if you make a purchase after clicking through we will receive a small compensation at no extra cost to you. Thank you in advance for your support and please know that we only endorse products we use and love.
Last summer we flew to Colorado and California (from Ohio) with a two-month-old and a one-year-old. Then this past spring break we flew to Myrtle Beach. Here are some of the things I learned when flying with children.
Airline Policies
(Note: You should, of course, double-check with your specific airline, if we’ve learned anything recently it’s that there is fine print attached to your plane ticket.) All of the airlines we flew allowed us to bring car seats and strollers aboard without being charged. I highly recommend a bag to stash the unused car seat. You might also fit a pack of diapers or two inside. We purchased this car seat travel bag with shoulder strap from Amazon in orange so it would be easy to see and easy to carry. Be sure your car seat says approved by the FAA, we almost had an issue. Of course, that’s only if you care for your child to sit in it on the plane, otherwise, check it at the gate.
Another thing I learned that you may not be aware of is bringing food through security. Any snacks or drinks that are intended for the children are legal to bring through security. That includes breast milk. You may have seen the tragic story about the woman who was made to dump her milk, cringe! There are regulations for traveling with it. I printed the policy and had it on hand just in case there was an issue! They also allow you to carry on your breast pump, without considering it a carry on item.
One policy we did not account for was not being able to sit together with both children as lap children. There wouldn’t be enough oxygen masks if we all sat in the same row. Fortunately, two incredibly nice women sit next to me and offered their help when I needed to feed or change the baby.
Flying Tips
One of the best things I brought with me on the plane was My Brest Friend Inflatable Travel Nursing Pillow that I purchased from Amazon. I didn’t use it on the first flight and my arms were so tired by the end. The flight attendant said it wasn’t safe for me to wear the baby. So on the next flight, I inflated the pillow and she was able to comfortably rest while my arms did as well.
On our flight to Myrtle Beach, the kids didn’t handle landing very well, even with pacifiers and bottles. The flight attendant suggested Dum Dum suckers. It sounded crazy, but it worked fabulously on the way home and even saved another toddler across the aisle from losing it.
Packing Tips
If you haven’t been introduced to packing cubes let me tell you how great they can be. I ordered three different colors, one for me, one for my husband and one for the kids. Check out these travel packing cubes, from Amazon, they come in a number of different colors. This allowed us to pack in one suitcase, but keep everything organized. If you separate by clothing type it makes it very easy to find what you need while keeping all the other items neat.
There are tons of great videos on the internet that will show you how to save space when packing. Yes, rolling your clothes saves space. It goes without saying an extra clothing option for the kids is always good in the diaper bag. My preference is a romper or footed pajamas so I’m only adding one article. Parents may want to toss an extra t-shirt for themselves in the bag as well. Try to find something both mom and dad could wear in case of an emergency.
Next time you book a vacation try using this website for the best travel sites. These are just a few of the things I’ve learned in the last two years traveling with our children. Share some of your great traveling tips in the comments below.
by Carly Black | Jun 12, 2017 | Meal Planning, Mom Solutions
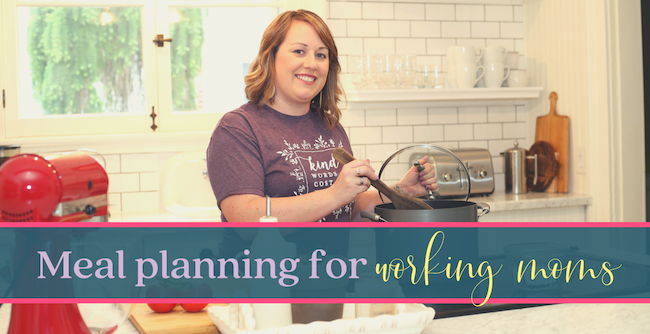
Before my husband and I married he was very clear that his cooking skills were non-existent. As he put it, “I heat, I don’t cook.” This was fine with me, I was perfectly happy to take the lead on all things food. Since this post is not about his previous eating habits and overcoming his limited palette I’ll refrain from elaborating on those hurdles. For me, the greatest hurdle was cooking for two. Then shortly after, 14 months to be exact, cooking for a family of four. This may sound crazy to many of you, but in my single days, I had more of a Carrie Bradshaw relationship with my oven. It didn’t actually contain my sweaters, but it certainly could have in those days. Meal planning was not something I felt deserved ink on my to-do list. Let me also say, as a disclaimer, there are certain areas of my life, mostly teaching, where I am very planned and prepared; however, there are other areas that are extremely messy. Because I can fully understand the value of a planned lesson I quickly realized that this type of organization could also help at home.

Some of the links found in this post are affiliates. This means if you make a purchase after clicking through we will receive a small compensation at no extra cost to you. Thank you in advance for your support and please know that we only endorse products we use and love.
My planning process
Decorating a planner using flair pens and stickers seemed like such a waste of time until I started to actually do it. Now I love to sit down, choose a color scheme and find the perfect stickers to represent my week ahead. A friend introduced me to the Happy Planner. I have loved the layout they provide. There are also accessories like grocery list notepad inserts to make it extra easy. This system has greatly helped me stay organized at home. Sitting down on Sunday afternoon to plan has now become my habit.
I like to start by writing in all the week’s events. These events can have an effect on what’s for dinner. When I have more time in a day I like to try new recipes and collect them on my Pinterest board, Carly’s Kitchen. I reserve the bottom square of each day in my planner for dinner menus. I write the title of the meal and then each side. This makes generating a grocery list for the week easier. Add the usual breakfast and lunch items, plus a few snacks if the drawer is low, and I’m ready to head off to Kroger.
I’ve always been the kind of cook who has no problem following a simple recipe. As long as it has normal ingredients and cooking methods I can follow directions. Soon I discovered that choosing recipes, even from Pinterest, was not very fun and it was extremely time-consuming. That’s when a friend asked me about hosting a Tastefully Simple party. Now, this is not a post or blog about me being a direct sales consultant, but this is how I made my life a little easier so I’m going to share my story.
Prepare meals in advance
When I joined Tastefully Simple they advertised making it easier to get dinner on the table during the school year at a decent time. All without feeling too exhausted to enjoy the meal. I love their concept of the Freezer Meal Workshop. The kit of products comes with 10 recipe cards, a pre-made grocery list with options for sides, and even a few leftover ideas. I would send out a message to my friends asking who needs 10 meals in their freezer? The ones who responded YES would gather their groceries and join me in my kitchen on a set day and time. About two hours is usually enough time to put all the meals together. Having someone to talk with while preparing the meals is much more fun. Sometimes we even poured a little wine.
There are so many positive outcomes from this kind of meal prep:
1. In the end, I have meals ready to go.
2. I’ve spent time catching up with friends.
3. The meals are going to save me time after work from needing to prep.
4. I’ve only spent money on the groceries I actually needed.
5. We are going to eat home-cooked meals for two weeks.
For the times that I’m not able to find a friend or two who can join me I still use the recipes, I just follow the “cook tonight” directions. It does require more prep time after a full day at school, but it’s usually only 30 minutes or less.
I know there are systems that will also send you the groceries, but I actually enjoy grocery shopping. Not everyone does. For me it’s relaxing, and it has that nostalgic feeling to be pushing my daughter in the cart like my mother used to do for us. I have always been impressed with my mother’s grocery shopping skills. The woman can write her lists in order of the aisles! I prefer someone else make the list for me.
That feeling of checking things off the list! Add using coupons and then putting it all away knowing you have a stocked kitchen makes me feel ready to tackle the week. I’ve also started to use this time on Sunday to set my goals for the week. For keeping track of my goals I’ve been using Lara Casey’s Powersheets.
Are you an Instant Pot user? Be sure to sign up for our newsletter and download your FREE monthly meal plan of pressure cooker dinners. Share your secrets for planning meals. What works best for your family? What tips or tricks have you discovered? I’m a sucker for a good app!

by Carly Black | Jun 11, 2017 | Classroom Solutions, Teacher Solutions, Teaching Methods
Co-teaching can be stress-inducing or stress relieving. How YOU choose to approach it will make all the difference. Many teachers treat their classrooms in the same way a dog would treat his backyard. We set it up just the way we like it, keeping all the important pieces in an organized system that is often only understood by the creator. So when someone steps onto our turf we can be a little possessive. When it comes to co-teaching this mindset will not be productive.
In my second year of teaching, they scheduled me with a co-teacher. I was already feeling very green as an educator, and to have another teacher in my classroom every day who would judge my teaching only made those insecurities flare. However, this was not the actual experience. My co-teacher never treated me in a way that made me feel like I didn’t know what I was doing. The truth was I didn’t always know what I was doing. She was good at helping me find ways to help all the students in our class. She became a teacher to me, as well, that year. Thankfully that first experience helped me to keep an open mind about the co-teaching model.
Ways to make co-teaching run smoothly
It was a decade before I would see another co-teaching experience in my classroom. Not that this was my choice, it just didn’t work out for me to be scheduled with one. Co-teaching is now a regularly scheduled course for me. When this change was made I wasn’t aware of who my co-teacher would be until those first work days before students arrived. This is not an ideal situation. If it’s possible to have more than a few days to coordinate I suggest taking the time to do so. This can really save a lot of time later.
When meeting your new partner it’s best, to be honest about your feelings or past experiences with this model of teaching. If you’ve had a negative experience previously be upfront about it. However, keep in mind this is not the same person you once worked with so don’t punish them for someone else’s crimes. Start the conversation by sharing your philosophy and systems used in the classroom. Then give them an opportunity to critique those ideas with a special educator’s lens. The systems I’ve put in place work for me, they were created by me and I get them, this is not always the case for students. I need to be flexible in the way I organize. A student’s main deficiency might overlap with a way I’ve decided to organize. There can still be an organized system, it may just need some tweaks for the students we serve.
Ideas for co-teaching lessons
Next comes the actual teaching part. This school year I noticed my co-teacher watch me a lot. At first, I was self-conscience, but then I realized she was just getting to know my style. We frequently checked in with each other as the lessons played out or during small breaks while students worked independently. It soon became a rhythm we were both beating. Co-teaching can take a few years to really feel comfortable with someone, but that’s the nature of education. Teaching, in general, takes trial and error to see what really works well. My co-teacher and I are always finding ways to revamp our lessons, but the key to making it work is honesty.
Honesty is always going to be the best policy when working with someone in such close proximity. It’s best to be direct in a loving manner. My co-teacher and I are both direct kind of people and this saves us a lot of time and frustration. None of us have the superpower to read minds (in a middle school classroom the thought makes me shudder) so be aware of the expectations you may have placed on your partner without their knowledge. If something seems to be off, openly discuss it. Your productivity and relationship will thank you.
Throughout the next school year, I hope to share some of the strategies that work best for our team. One idea that we have decided to try out for the school year is Guided Reading. We are also testing the idea of eliminating the whole class novel. Our district brought in co-teaching guru Sonya Kunkel, who has been very helpful in giving us some very real advice, as well as, lesson ideas. Leave a comment and share how you are working well with your co-teacher.
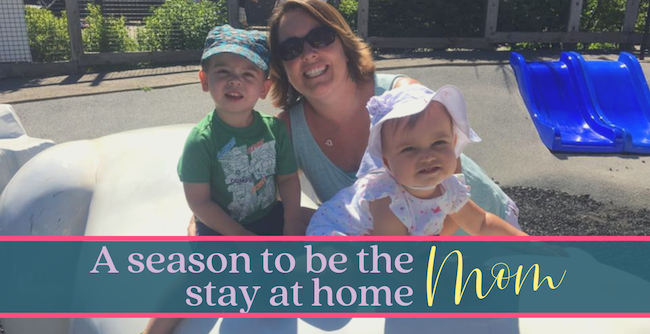
by Carly Black | Jun 9, 2017 | Home Solutions, Mom Solutions, Schedule
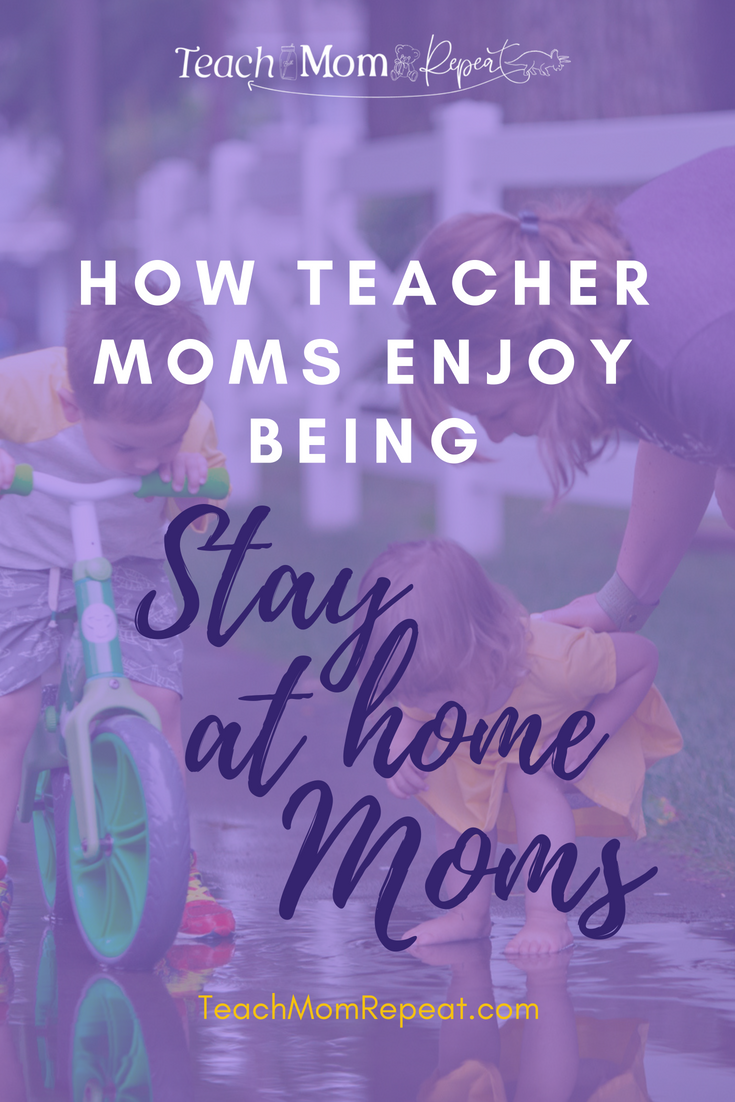
Most people consider a calendar year from January to December. However, for the teacher, a year starts in late August and runs to the first week of June (or end of May if you’re lucky.) That makes the summer months our “off-season,” or what I now refer to as my “stay-at-home-mom season.” The time schedule each day as a stay at home mom is very different, but the structure looks mostly the same.

Skills Training
One down and one to go. On a whim this past spring break I decided to potty train the three-year-old. We had planned to stay at home for most of the week, making it an ideal opportunity. In my classroom, I have learned the value of front-loading material to help students learn faster. After implementing valuable advice from a colleague, who explained that her toddler sits on the toilet while the water runs helping him feel the urge to go, we introduced potty sitting before bath time to give them the basic concept. Even though I consider myself a pretty good teacher of reading, I honestly thought to teach my kids how to use a toilet would be a tougher monster to tackle. Turns out the front-loading concept works well for potty training, also. After two weeks of timers and a few extrinsic motivators (new toys), my son is accident-free! He’s even waking up dry in the morning.
Our daughter, who will be turning two for the kick off of summer is next. It’s probably a little early for her, but I’m hoping her desire to do everything her big brother does will motivate her.
Mealtime
During the school, day lunch is generally a time to relax and engage in adult conversations. However, during the season of stay at home mom I become the cook in charge of feeding everyone. I appreciate the power of planning and being prepared. Throughout the school year, I have been in the habit of meal planning and grocery shopping on Sundays to help. Usually, these shopping trips consist of dinners for the week and some breakfast and lunch staples. Rather than standing in the kitchen looking for something to throw together ten minutes before the meltdown begins I prefer to have a plan. I don’t consider myself a cook, so the throwing food together doesn’t usually turn out well. I like to follow a recipe, and like any good collector of ideas, I’ve turned to Pinterest for toddler meal options. If I don’t it might be PB&J sandwiches every day. Some days we have exciting, specially crafted lunches, some days we need to pack our lunch to go, and some days we are going to eat a quick PB&J. However, most days I do not get to have enjoyable adult conversations, instead, I get to belly laugh with my kids.
Prep Period
When in a stay at home mom season prep time is also known as nap time. For the kids, not me. My actual planning period is usually more of a marathon. How many things can I check off my to-do list in a short 42 minutes? Thankfully, nap time usually lasts much longer than 42 minutes! As long as I can get both kids down at the same time I can often count on about 2-3 hours. So much can be done in that amount of time!
In order to really make the best of this time let me again suggest planning and preparedness. Unlike a school day, where parent phone calls or other emergencies could pop up, a day of being a stay at home mom can be much more predictable. Decide which days you’d like to complete the usual cleaning or organizing tasks and then save time for yourself. Work on a personal hobby or sit down to a good book. Dedicate this hour to self-care, you deserve it.
Field Trips
To jump-start our summer we renew our Columbus Zoo family pass each year. The great thing about zoo membership is that they allow you to receive more benefits than just free admission to the zoo. We are able to purchase half-price tickets to a number of other zoos giving us the option of Cleveland and Akron, as well. I’d like to visit Toledo Zoo this coming summer.
Teachers, did you know with proof of employment your ticket to COSI is now FREE? I would have been making trips to COSI a long time ago with that information. With so much to see at each of these fun, kid-friendly places there are not enough days in the summer to experience it all.
The dress code is much more casual, the time is more flexible, and the kids aren’t being graded, but the day still has the same moments of learning taking place, belly laughs to break the monotony of routine, and time to reflect on how you’re so in love with this mom gig.
Teacher-Moms, share what you love about making the transition to stay at home mom.